Wednesday, March 12, 2014

Cinnamon Rolls

Hello, everyone!

Have you heard of Gypsophilia? I hadn't until very recently. Last night, I attended a barn dance at which Oro! Orkestra, a band very near and dear to my heart played before Gypsophilia. I danced my feet off. If you've never in your life had a night or day or hour in which you threw your various limbs in every direction at once because of the rhythm and energy of the music you were listening to, I highly recommend it.

Gypsophilia! And barn decorations!


These cinnamon rolls are brought to you by the calorie-burning dancing, clapping, jumping, twisting, and leaping with which I exhausted myself yesterday.

None of those people are me, obviously, but the center of that floor is where I was.


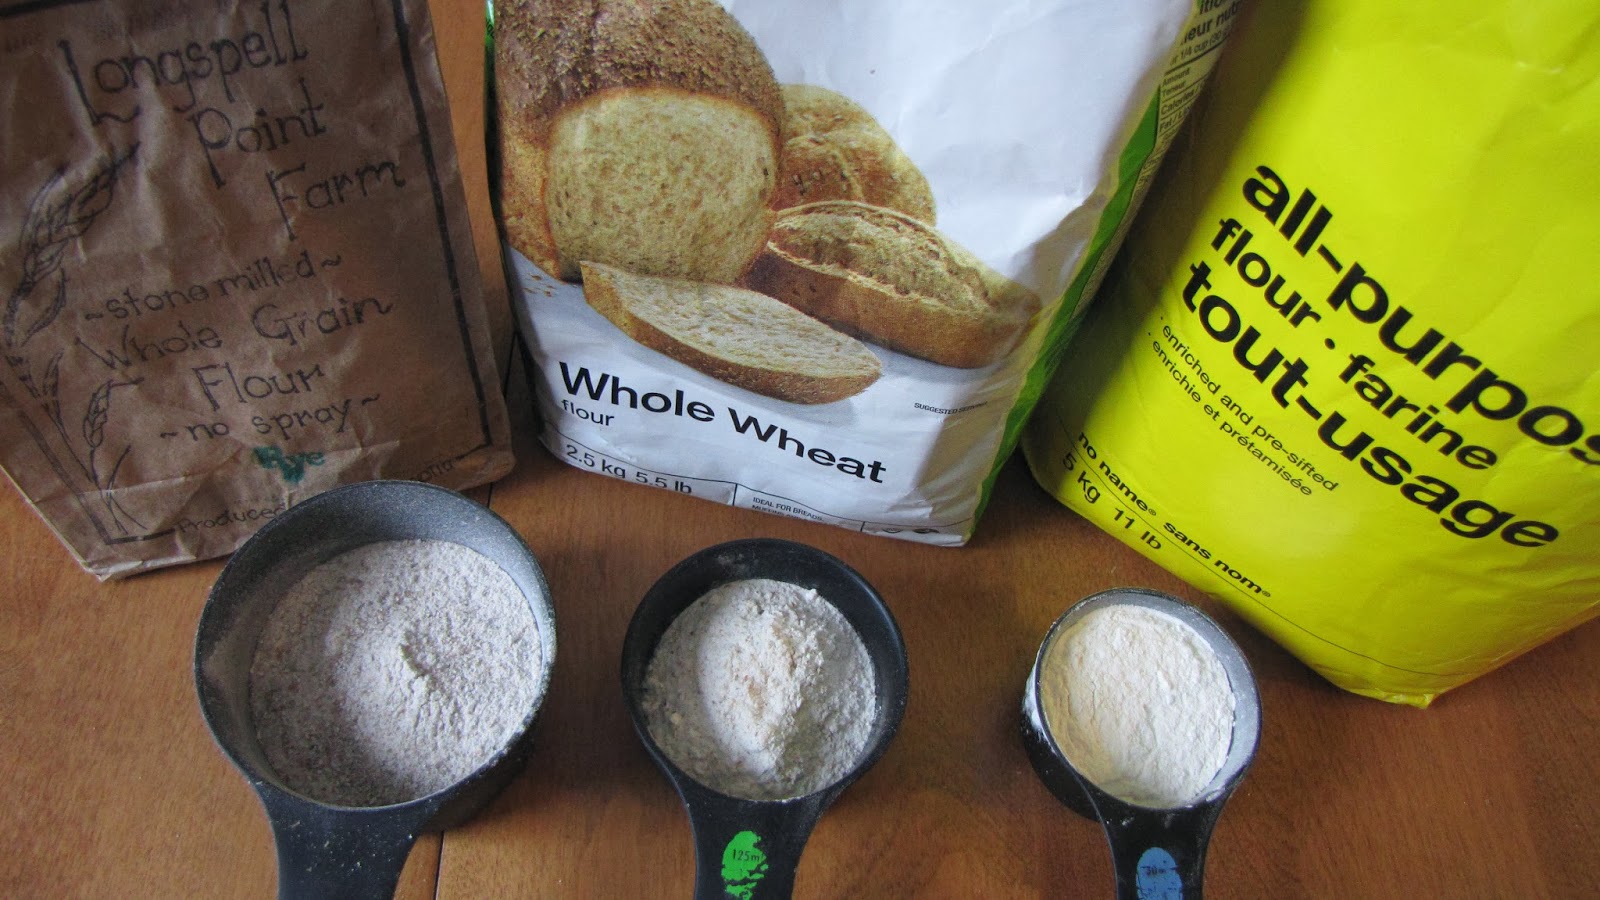
In this recipe, we return to the counsel of Joy the Baker. This lovely lady recently made cinnamon rolls with a level of pizzazz that I simply can't recreate, so I'm using the base of this recipe, cut in half, minus the pistachios, dark chocolate, and orange peel. Basic cinnamon-sugar is what I need today. 

First, we start by washing the pot.


Then we make the dough. You'll just have to trust me when I say I followed the recipe, because there's something about the distraction of making cinnamon rolls that makes me forget the presence of my camera. Oops. I'm totally rocking this blogging thing.

Anyway, I added to the recipe a little bit. Joy, the wonderful kitchen enchantress, bakes her rolls in a greased pan, but I wanted mine gooey. Goo is the best part of cinnamon rolls, depending on my mood, so I made some caramel in the bottom of the pot. Really the only thing you need is sugar and water, but I jazzed it up a bit.

Caramel:
pat of butter (2 tbsp-ish)
1/4 cup sugar (I like brown sugar, but that's up to you)
dash of honey or maple syrup or any simple syrup
pinch salt

Simmer all of these together on the stove at medium heat, reduce when the mixture starts to bubble. When the caramel turns a nice light orange, take the pot off the heat, because it'll cook some more in the oven. (I overdid the cooking, so it was more like an umber... not good, as you'll see later.)

Place as many cinnamon rolls as possible on top of this caramel and pop them in the oven. Still following the JoytheBaker recipe here, so no need for a second rise.

They come out like this!


Oh, you want a better look? Here:


Wanna see the underside???


LOOK AT THAT GOO! (I should have taken the caramel off the heat earlier, but burnt sugar has some redeeming qualities.)

And there you have a cinnamon pull-apart treat. This was gone in approximately 24 hrs, so it may behoove you to hide half of it, or make two batches. Enjoy folks!

Saturday, March 8, 2014

Stew-Quiche

I have a roommate. Actually I have two, but I'm only talking about one today. She is sensitive and fair and kind, as well as ridiculously outgoing and gentle and willing to listen and commiserate. She also loves to make stew.

Only this last part is in any way a problem. The problem is, every time she makes stew, she makes enough to feed a small army. This is, perhaps, appropriate since she is actually a member of the Canadian Reserves, but it doesn't work so well when she only lives with two people. So we have a lot of stew. The below recipe is how I attempt to use up the leftovers of said delicious stew.

Here it is, in all it's glory.


Quiche is a food that has all the advantages of breakfast food as well as a potential for clearing out old food from the fridge. Anything can go in it, so long as that anything is followed by eggs, milk, and cheese. At least, that's what I think I proved with this dish.

I happened to make this before I remembered that I was supposed to blog about it, so I took some pictures after the fact and I hope that's good enough.

Ta daaaa!


Beef stew. With parsnips, carrots, onions, and potatoes. I added more potatoes on top. There is goat cheese mixed in with the eggs, and cheddar on top of the potatoes. Put all of the aforementioned things in a bowl and stir. Add into a waiting pie crust (recipe below) and throw the potato slices on top, along with more cheese (cheddar here). Bake at 350 F for about 40 minutes, or until cheese has melted and browned, and juices have begun to leak from the top. Yum.

The pie crust recipe is a lot easier than most butter + flour + water recipes, mostly because it doesn't require a whole lot of kneading.

1 Pie crust... which means one side. Double this if you want a top AND bottom crust.

1/2 cup vegetable oil 
1/4 cup milk
2 cups flour 
1/2 tsp. salt

Mix together dry ingredients, then wet. Combine wet and dry all at once and stir quickly, stopping when just combined. Knead with your hands until there are no crumbs left, and then roll out immediately. BAM, pie crust. Enjoy!

Sunday, February 23, 2014

Carrot Soup with Pumpkinseed Pesto

Remember how I said that I might make soup? Ages ago, yes. Well, I finally made good on that vague commitment. This is the story of Carrot Soup on a cold day.

It's beginning to warm up here in Nova Scotia, but there's still snow on the ground and a sheen of deadly, near-invisible black ice on the sidewalks. This is all enough to justify soup, so here goes.

Onions. As always. Diced and popped into hot olive oil, sautéed until translucent. 


At this point, I should add that if you notice any incredibly beautiful wooden soup spoons or spatulas or cutting boards in my photos, they are the woodwork of my dad, whose professional life involves explaining the complexities of Linux and open-source to non-computer whizzes (me, among others), and whose art involves creating beautiful, gorgeous wooden cookware. A small sample of his work can be found here. Shameless advertising, done.

A tablespoon of garlic and a teaspoon of salt follows the now-translucent and starting to brown onions. Swish around until the garlic is fragrant, and then add chopped carrots:

this is about four large carrots' worth, or four heaping cups.


I realize this looks like I bought pre-sliced carrots. This is patently not the case - that's a re-purposed granola container, which I was using for volume-visualization, thank you very much.

These carrots cook for about 10 minutes. They should be beginning to soften around the edges, but shouldn't be fully cooked. Stir occasionally.


After the carrots have been partially cooked, add liquid. I went ahead and put in chicken broth, but you can also preface this by adding a cup of white wine or cider or other liquid, and stirring until it has been mostly absorbed. This adds another layer of flavour to the carrots.

I went a different route, however. This is about three cups of homemade chicken broth, plus one more cup of water.  I also added a tablespoon of chopped thyme, and a teaspoon of lemon zest.

Oh, and how could I forget... two tablespoons of maple syrup as well. 


Cover and simmer until a fork goes through the carrots easily, about 15 more minutes.


Soup by itself is all very well. However, I had some cilantro just on the edge of going bad, and some pumpkin seeds. To me, that looks like pesto. 


Pesto can be made out of absolutely anything green. My mom, pesto-maker extraordinaire, has the components down pat: 
  • seeds or nuts: pine nuts work best, but macadamia nuts, pumpkin and sunflower seeds, and almonds are the best. I always toast this additive, but fresh is fine and probably better for you.
  • something green: seriously, anything. Broccoli, parsely, basil, cilantro, kale... brilliantly flexible.
  • oil: typically olive, but open to veggie, grapeseed, sunflower, and others that don't have a strong, distinctive flavour.
  • seasoning: salt, pepper, cumin, cloves, garlic, whatever. Go wild. I like to keep mine to a minimum to focus on the bright green flavours. 
  • acid: lemon, lime, vinegar... something to brighten and intensify the flavours already present.
This time, my combination was a cup of cilantro, half a cup of olive oil, salt, pepper, a clove of garlic, a squeeze of lemon, and toasted pumpkin seeds.

Throw all of these in a blender or food processor, and blend until smooth, adding more oil as necessary, and tasting for seasoning. 


At this point, once you've stopped cursing at your food pulverizer of choice and the pesto is actually smooth, the soup should be ready. 

Looks lovely. 


I always add lemon juice at the end of a soup to bring out softer flavours, like that thyme. 


I blended my soup, but that's completely up to you. I have an immersion blender, so that makes it pretty easy, but if you don't want to go through the hassle of blending hot soup in batches in a blender, I've been there; I get it. 

Here's the finished product for the night, with the suggested pairing:

I think if any trained chef saw this garnishing job, they'd spit their pinot gris all over the screen. I gotta work on that, but hey, it tasted pretty great! Hope you enjoy!


Wednesday, January 22, 2014

Brown Bread!

I have yet to really get into gluten-free cooking. Despite having several celiac and/or gluten-intolerant friends, I have found myself unable to dedicate time to it. I love whole wheat flour, and rye bread, and the stretchiness of a pie dough. One day, I will experiment with coconut and quinoa and corn and rice flours, but that day is not this day.

There's a blizzard outside today.


This calls for slices of thick, glutinous, chewy, homemade bread. And possibly soup later. Today is a day wherein I celebrate the beauty of gluten with three different flours. Here we go. Below are my compatriots:


Let me introduce you to Longspell Point Farm rye flour, and generic whole wheat and white flour. All three are in this loaf today. We start off by mixing all three. This is an adapted recipe which originally uses only rye and white flours, but I didn't have quite enough rye. So, in a classic I-don't-wanna-go-shopping moment, we're using whole wheat to make up the difference. So the amounts today are:

1 3/4 cups white flour
1/2 cup rye flour
1 1/4 cups whole wheat flour
1 3/4 tsp salt
1 tsp yeast
2 tbsp unsweetened cocoa


Into this, we mix

2 tbsp honey or molasses
1 1/2 cups warm water
2 tbsp melted butter (browned, in my case)

I love brown butter. This is an affection I've inherited from my mother, who makes a WICKED soy-balsamic-brown-butter sauce, and Joy the Baker. Here's an action photo for you:


Once the wet is mixed into the dry and kneaded until just slightly tacky (an operation which may require adding more flour a tablespoon at a time), it's time to rise! This is where the beloved oven comes in: cover the bottom of the pan with rolled oats or corn meal or a good layer of flour (to prevent sticking), and plop in the dough!


I chose to knead in some oats in this loaf... but I should really emphasize COVERING the bottom of the pan with ANYTHING to prevent sticking. I ended up losing some of the bottom. Anyway, cover the pot and leave for 1-2 hours in a warm place until it looks like this:


Time to put on music, wash things, take more pictures, make cocoa, and preheat the oven to 375. Pop the doubled dough in for anywhere between 30 minutes to an hour - however done you want it. After it pops out, and you've cried several times about the loaf being stuck to the bottom of the oven, it should eventually accede to your wishes and pop out of the baking dish looking like this:


...not really. This is an alternate recipe that wasn't actually made in the dutch oven but turned out looking a lot better. Here's the actual result:


Looks okay up top, but flip it over...


AHHHHHH! Mangled. Always coat the bottom of the pan with something. Still, it's good with jam. Enjoy, folks, and I wish you all the success in the world.

Tuesday, January 14, 2014

Turkey Pot Pie

Quick! The vegetables are going off! Um, ahem. I mean, let's make pot pie.

What happens when three roommates collaborate on shopping without actually communicating? A buildup of half-used containers of vegetables. Things get overlooked, forgotten, and slowly continue the process of returning to the earth in the confines of the fridge. This moment calls for drastic action with the help of some ever-stalwart onions, potatoes, and pie crust.

Here's a sneak peek:


And here's the starting lineup:


Pictured here are potatoes, broccoli, carrots, mushrooms, and onions. I don't really have amounts for this recipe. I used two medium onions, and as for the rest of the vegetables, a nice heaping double-handful of each should suffice. I am particularly disposed toward onions, so they made up the bulk of the filling (not counting the turkey). But really, whatever leftover veggies there are in the fridge should be good for this, so long as they get sliced/chopped/machetéed into pieces that don't necessitate long cooking time.

Next step: Sauté.


Everything that tastes better slightly browned goes into hot olive oil. Mushrooms, onions, and carrots were my choices. The pie is going to be baked, which means these guys will be twice-cooked. Broccoli and potatoes would go a bit mushy, so I left them out. By the way, have I mentioned that I love the smell of frying onions more than any other cooking smell? Well now you know. One day when I finish my "Ode to Allium cepa," I will never stop singing it. Anyway.

Eventually, the Step-2-veggies cooked down and browned. Time for garlic. A lot. Of garlic.


I added this after the other veggies had lost some water content and started to brown. Which brings me to the next photo:


BROWN BITS! The official name for the gorgeously umber-hued vegetable residue from the sautéed Allium cepa et cetera! Tough to clean off, but good. Those rich brown bits are going to get mixed into the sauce momentarily. For the moment, though, I'm still adding things, like MORE VEGETABLES!


Broccoli and potatoes. These are the bits that tend to go mushy if cooked too long, whereas onions and carrots are pretty stable, and mushrooms are really just here for flavour - I don't need them to hold their shape. Almost done. The last thing I add is the actual turkey.


There's a story here. This entire recipe was made possible by the donation of a large tupperware container full of leftover New Year's turkey from a friend who stayed at our apartment overnight. (A recent local freeze meant frozen pipes, loss of power, backed-up showers, and general nastiness that made people want to seek a bed somewhere else for a couple days while the plumbers sorted everything out.) In return for the couch-letting, we got turkey. Above is my attempt to shred it.

Turkey gets dumped in...


and immediately put in a different pan so I can make the sauce in the dutch oven. Just because this is an oven-dedicated site, that doesn't mean I can't ask for occasional receptacle-help.

There aren't too many photos of what happened next, because there was a lot of panicked stirring and hot oil jumping everywhere. This is what happens when Ceileigh attempts to make roux.

For those who don't know, roux is how you get really thick, creamy sauces and gravies. Equal amounts of butter and flour are stirred like crazy over heat so the two form a nicely brown, thick paste. Then you add liquid. This can be lots of things, depending on the flavour you want. If I had wine, I would have used it. But I didn't. So I used about 2 cups of chicken broth to the tablespoon each of butter and flour. After that reduced by about half, in went about half a cup of milk, some bay leaves, ground black pepper...


...as well as an ingredient particular to me:


About two tablespoons of my grandmother's homemade plum butter, which essentially pureed plums cooked down until they turn sweet, brown, and jammy. Great on toast, in salad dressings, on yogurt, or with poultry. It may seem weird, but hey, people put cranberries on turkey at Thanksgiving, so I'm well within my cooking rights. Here's what the sauce looks like after the plum butter has been mixed in:


Time to add the pan of deliciousness to the sauce and mix until evenly coated and the filling looks like this:


I cover everything with cinnamon after this. I love cinnamon on savory dishes.

And now for pie dough. This is a family recipe, and uses vegetable oil, milk, flour and salt instead of the usual flour, butter, water, and salt. It's extremely flaky and delicious, and I decided to use olive oil instead of canola for a taste experiment. Turned out pretty well!

So, 2 cups of flour and 1/2 teaspoon of salt mixed with 1/2 cup of olive oil and 1/4 cup of milk looks like this:


and then this:


and then this:


and then everything went to hell because the dough was too dry. So I ended up with a very rustic-looking top:


which wasn't bad, all things considered. It let the juice do interesting things in the oven. After dribbling some milk over the top, this behemoth went into the oven at 350 degrees and came out 45 minutes later looking like this:


Experiment successful!


First blood goes to me! Yum. That's gonna be hard to clean.

Tuesday, January 7, 2014

Brussels Sprouts, Finally Tasty

I never had any definite feelings about brussels sprouts while growing up. My parents never tried to make me eat them, perhaps taking a cue from my inability to consume broccoli without myriad threats. Because of this, I was neutral on the subject of the offending sprouts and they remained a vegetable that I acknowledged until my twenties as 'probably terrible,' given their green existence.

And then, I tried them.

This is a recipe adapted from Fine Cooking, a magazine that I practically read for bedtime stories. Before searching for this recipe, I had come across quite a find at my farmer's market. This is the find:


These are rubine brussels sprouts. (Photo credit to goodeverydaythings.com). Beautiful purple and red and green. I got them without knowing what I would make with them. I eventually did this: 


Seared, steamed, and balsamiced. So good. As you can see, those aren't rubine sprouts. Unfortunately, I didn't have my oven at hand when I purchased the reddish ones. So, I'll be recreating the recipe with these boring (but still tasty!) green ones. First step: HALVE ALL THE THINGS!


Thereby making a beautiful flat surface which will sear to a deep brown. So, heat up some oil, and place these buggers face-down in the pan, like so:


There are many sounds more beautiful than spitting oil, but it does happen to be a favorite of mine. God I love this pot. ANYWAY, here they are, searing. I really crowd them in, which is fine, since they're going to get (SPOILER ALERT) steamed anyway. I generally add in about 3/4 of a cup of water. But it can also be a dry white wine or chicken broth or sherry or however you want the sprouts to taste. When they're brown on the bottom, pour in the liquid and cover. It's time to stop steaming when a knife blade easily punctures all but the very center of each half-sprout. Take off the cover and let any remaining liquid evaporate. 

THEN, my lovelies, is my favorite part. 3-4 tablespoons of balsamic vinegar, straight into the pan.


 At this point, it's time to toss the sprouts around a bit, to get them evenly coated. Once the vinegar is absorbed, it's time to eat! 

In the past, I've had this dish with pomegranate seeds and shaved Parmesan, which is my favorite way to eat it, but this is also surprisingly good on eggs, as pictured below. I made them in the same pot, by the way, for deliciously balsamic-flavored scrambled eggs. Mmmm. 

Butter for the eggs melting right on top of the leftover balsamic glaze. 


Eggs thoroughly beaten + salt and pepper


You can JUST see the eggs under the sprouts... they make a really good background comfort taste for the crunchy sprouts and vinegar tang. 


Et voila. Good for breakfast or a lazy dinner, as this happened to be. Hope you try it!